
Logo Digitizing 101: Why Your First File Matters More Than Your Tenth Order
The digitizing file affects how artwork becomes stitches. Learn what to send, what to review, and which file terms to confirm before approval.
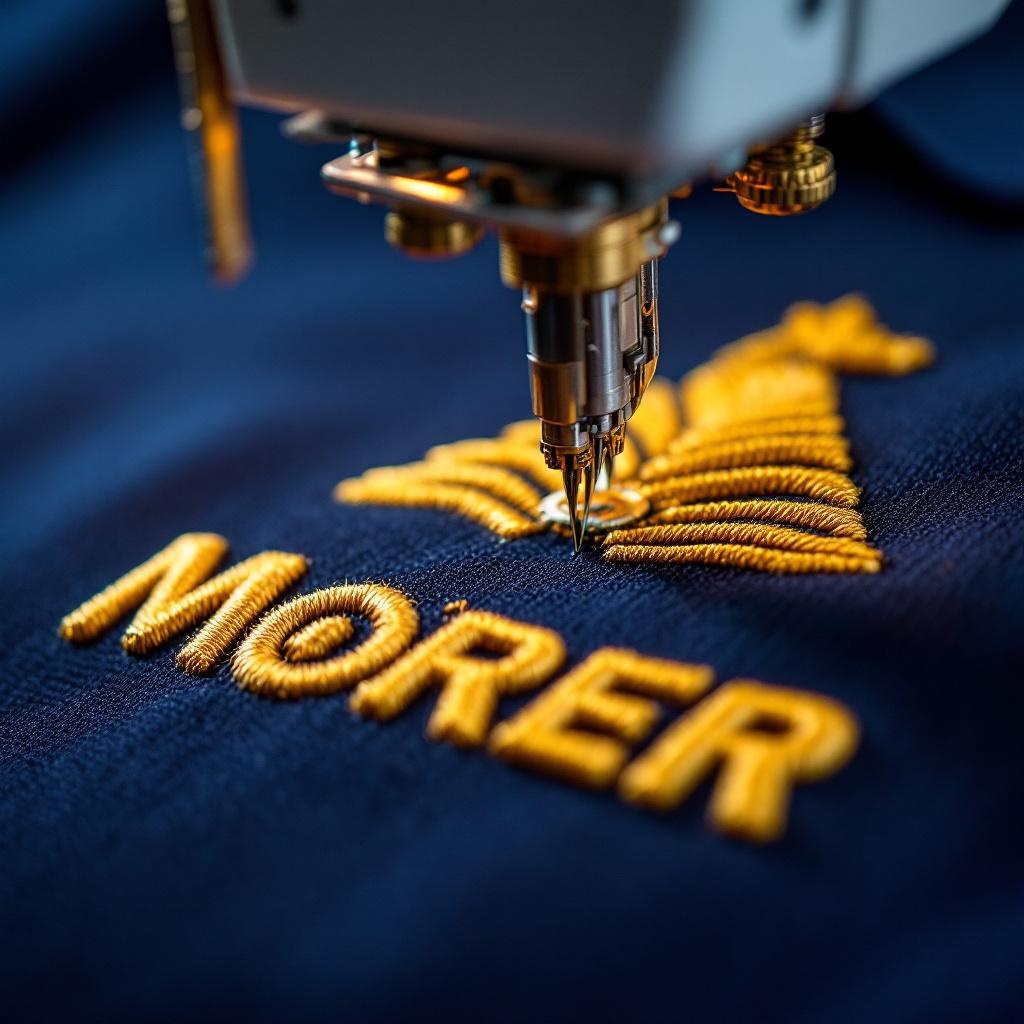
Embroidery requires a stitch file that differs from ordinary logo artwork. The production partner converts the art into instructions for its embroidery equipment. That conversion affects the finished appearance.
That conversion is called digitizing. It requires judgment about stitch direction, density, underlay, and fabric. Review the file and proof for every approved garment program.
1. What Digitizing Actually Is
An embroidery machine doesn't read a JPG, a PDF, or even a vector AI file. It reads a stitch file — typically a `.dst`, `.emb`, `.exp`, or `.pes` format depending on the machine. The stitch file tells the machine: drop the needle here, then here, then here, this color thread, this stitch type, this density.
Digitizing is the process of converting your logo into that stitch file. A digitizer (a person, not a script) decides:
- What stitch type to use for each section (satin, fill, run)
- Stitch density and direction
- The order operations run in (so the design doesn't pucker or warp)
- Underlay (foundation stitches that stabilize the fabric)
- Where the machine starts and ends
- How to handle small details, type, and gradients
A simple-looking logo can still require many stitch decisions. Ask how the selected partner reviews small type, stitch direction, density, and the intended garment.
2. Why a Bad File Haunts Every Reorder
Here's the trap. Your first order with a new shop comes back, and the logo looks "fine." Not great, but fine. The lettering is a little uneven, the fill stitch on the icon has a gap on one side, the polo puckers slightly under the embroidery. You shrug, take the order, move on.
A reorder that reuses the same uncorrected file can repeat the same issue. Review the garment, placement, and proof before each production approval. File changes and fees depend on the partner agreement.
The compounding cost
A poor digitizing file can create repeated problems. A strong file gives the production partner a better starting point. Each reorder still needs a current garment and proof review.
3. What to Send Your Embroidery Shop
The single best thing you can do is send a vector logo file — `.ai`, `.eps`, or `.svg`. Vectors scale infinitely without quality loss, which means the digitizer can size your logo to the exact embroidery dimensions without guessing.
If you only have a JPG or PNG, send the highest-resolution version available. The production partner will confirm whether it can use the file or needs new artwork.
Also send:
- Pantone colors for every part of the logo (PMS coated and uncoated if you have both)
- The intended placement and size, confirmed against the exact garment, artwork, and approved proof
- The fabric we'll be embroidering on (canvas vs polyester pique vs FR fabric all behave differently)
- Any "do not touch" rules — minimum logo widths, brand colors that can't shift, type that must remain readable
4. What a Good Digitizing File Looks Like (When You See It on a Shirt)
You'll know good digitizing by what you don't see. A well-digitized logo has:
- Clean satin stitch edges — no fraying, no gaps where two colors meet
- Even fill density — the center of a filled shape doesn't look thin or patchy
- Type that reads clearly at the actual size, with no clumped or broken letters
- No fabric puckering around the embroidery — the shirt sits flat
- Crisp registration — colors line up exactly where they should, no overlap or gap
Bad digitizing has the opposite — uneven edges, thin fill, illegible small text, fabric that bunches under the embroidery, and colors that don't quite line up. Some of those are a press operator issue. Most of them trace back to the file.
5. Confirm the Sew-Out Process Before Production
A production partner may sew the digitized logo onto a test garment before the full order. This is the sew-out. Confirm the proof process, approval steps, and any sample cost in your quote.
The sew-out catches issues you'd never see on a digitizer's screen — a logo that looks perfect on the simulation but puckers on actual canvas, type that's legible at 4" but blurs at 3", thread color that shifted slightly on the fabric. We'd rather find that on one shirt than on a hundred.
Confirm whether the quote includes a sew-out, production sample, or digital proof. Put the approval process and any sample cost in writing.
6. Who Owns the File?
Important question, often missed in the first conversation. Some shops digitize at their cost, sew at their cost, and consider the stitch file their property. If you ever want to leave that shop, you start over.
Ask for file ownership, delivery, storage, and reuse terms in writing. Bighorn confirms those terms in the quote for the selected production partner.
Worth confirming with whatever shop you work with, before they have your logo on file.
For the full breakdown of how Bighorn coordinates embroidery through production partners, see our embroidery service page. Our screen vs embroidery breakdown explains where each method may fit.
Want a quote on embroidery for your crew?
Your quote confirms digitizing cost, file ownership, storage, and delivery terms.
Get a QuoteThe Short Version
Send a vector file. Specify exact size and color references. Request a sew-out before production. Ask who owns the digitized file. Review the approved sample and confirm file terms before placing future orders.
Bighorn Threads Team
Embroidery programs for Vegas trades. File ownership and digitizing terms depend on the quote. See our embroidery service.