
Custom Safety Vests: ANSI 107 Compliance and Where to Place Logos
A practical guide to reviewing an ANSI/ISEA 107 garment before adding a logo.
Why Decoration Rules Matter on Safety Vests
High-visibility garments use background and reflective materials as a system. Decoration can cover or interrupt those materials. Review the complete finished garment.
ANSI/ISEA 107 addresses high-visibility safety apparel. Applicable requirements can also come from the employer, project owner, agency, or contract. Confirm the current requirements for the actual work.
Measure the Exact Garment
Do not apply a universal logo cap to every vest. Build a scaled proof for the exact style and size. Review each placement against current product documentation:
- Identify the garment manufacturer, model, size, type, and class.
- Map all background and reflective material on the finished garment.
- Add every logo, name, badge, and identifier to one proof.
- Request written manufacturer and employer approval before production.
Larger back graphics and multi-placement programs need extra review. Garment sizes can also change the available area.
Placements to Review
Front placements
- Left chest panel. Review a proposed company logo against the exact garment.
- Right chest panel. Review employee names or department identifiers the same way.
Back placements
- Back yoke. Confirm available background and clearance from reflective material.
- Lower rear panel. Confirm the proposed identifier does not obstruct required material or labels.
Avoid
- Any placement that covers, crosses, or obstructs retroreflective tape
- Oversized back logos that consume the entire back panel non-retroreflective area
- Decoration on the retroreflective stripes themselves
Embroidery vs Screen Printing on Safety Vests
Embroidery adds thread, backing, and needle penetrations. Ask the garment manufacturer to approve those materials and the proposed placement.
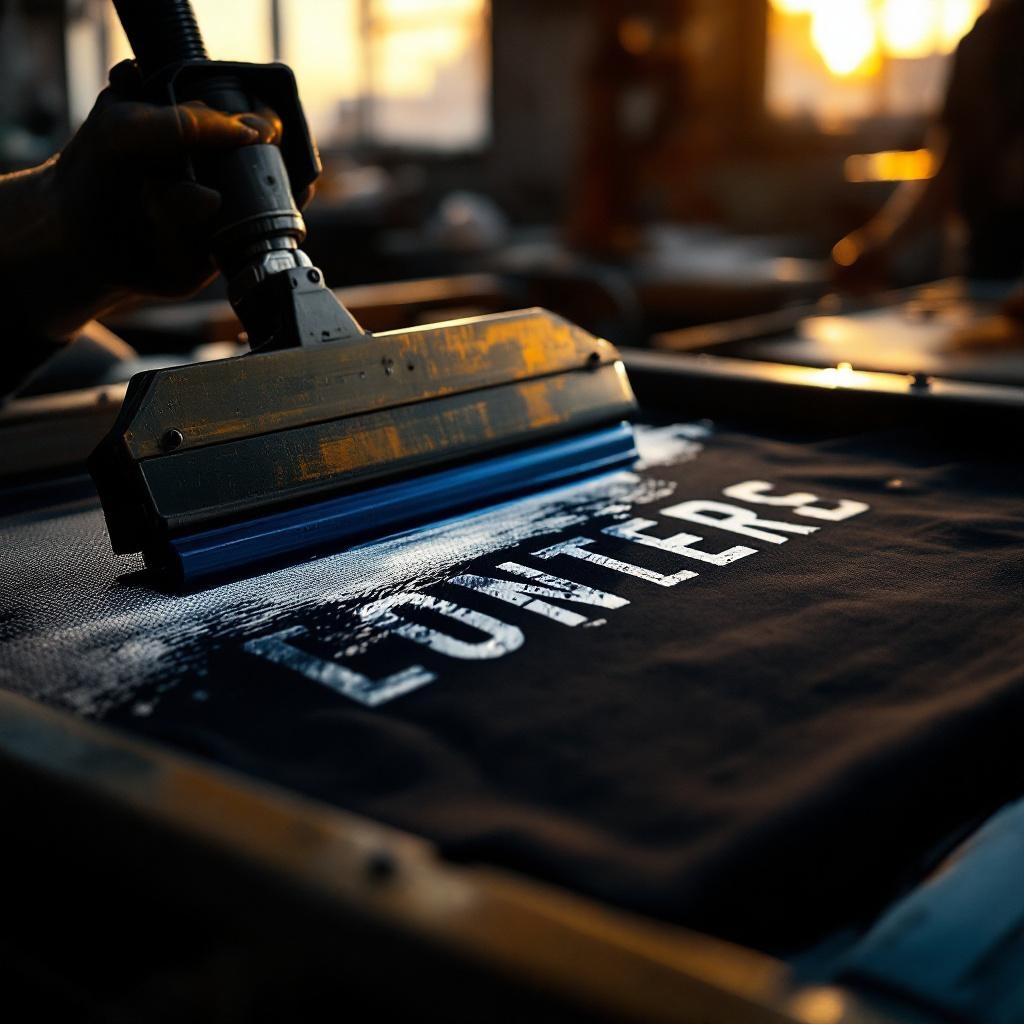
Screen printing adds ink and a curing process. Confirm ink compatibility, curing limits, size, and placement with the garment manufacturer.
Class 2 vs Class 3 Decoration Differences
Class 2 garments can use different designs and material layouts. Review the exact label, style, size, and product documentation.
Class 3 garments can also use different configurations. Do not transfer a decoration proof from another class or garment without a new review.
For deeper context on choosing between Class 2 and Class 3, see ANSI 107 Class 2 vs Class 3 hi-vis.
How to Order Custom Safety Vests
See our custom safety vests Las Vegas page for available options. Confirm availability and terms in your written quote. When building your order:
- Specify the class. Use the employer's hazard assessment and project documents.
- Confirm the product. Record the manufacturer, model, size range, color, and current classification.
- Plan decoration. List every placement, material, and finished size.
- Obtain approval. Ask the manufacturer and employer to approve the complete proof.
- Confirm terms. Put quantity, sizing, availability, pricing, and timing in the written quote.
Custom ANSI 107 safety vests in Las Vegas
Bighorn Threads coordinates selected safety vests and approved decoration through production partners. Your employer selects the required class. The garment manufacturer must approve logo methods and placement.
See Safety & Compliance →